
Adobe Commerce, formerly Magento, is a widely used website platform. It has the ability to create a hierarchy of sites, stores, and store views. This is a key capability that allows you to run multiple stores, and multiple languages within the same commerce backend.
Some examples of things you can do in a single Adobe Commerce installation:
- A French, English, and Spanish-translated store.
- A B2C website and B2B wholesale store.
- Or many combinations like: A Canadian domain with English and French with CAD currency and local fulfillment, alongside a US domain with English and Spanish translations with USD currency and US-based fulfillment.
At first glance, localizing content and configuration in Adobe Commerce (formerly Magento) can seem like a complex and convoluted process. This post illustrates Adobe Commerce’s store structure and how to set up store views for localization.
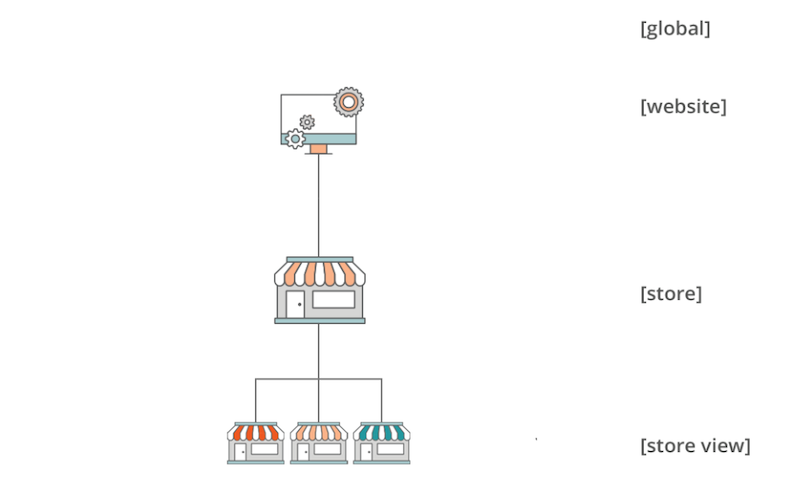
A high-level visual diagram that outlines the hierarchy, terminology, and structure of Adobe Commerce’s store setup (Stores > Settings > All Stores) has proven to be extremely helpful.
From the Adding Stores section of Adobe Commerce User Manual.
How to set up store views in Adobe Commerce
For most translations, adding a store view is the way to go. So we’ll focus this post on that method.
Creating a new store view
Go to Stores > Settings > All Stores and select Create Store View.
Select the Store, provide a name, a language and/or code (e.g. “es” if localized in Spanish or if language/country specific could be something like “es-us”), and set the Status to Enabled.
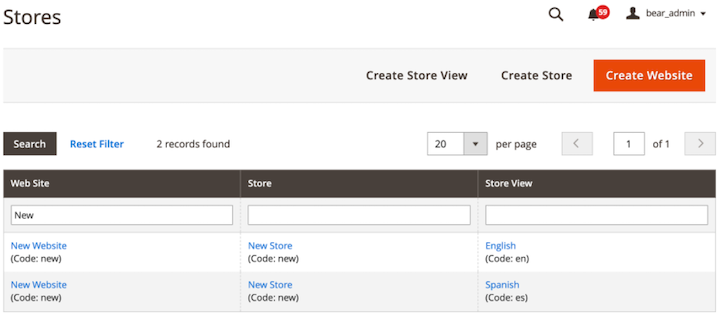
On the Manage Stores page, you’ll now see your new store view on the far right column.
Localizing content / configuration
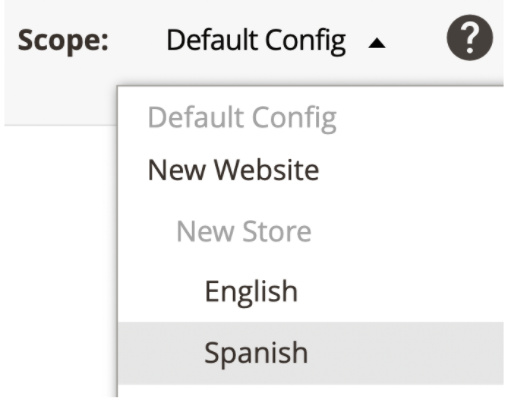
Note: For Category, Products, and Configuration tasks it’s critical to select your correct Store View in the Scope dropdown (always located on the top left, usually in line with the orange Save button) before localizing your content/settings.
Categories
Translating categories
To translate/localize elements of a category, go into the category configuration, select your correct store view, and uncheck Use Default.
Value and replace the base language version with your translations/localized content.
Hiding categories
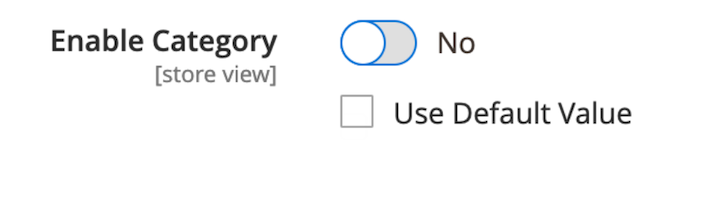
If you’re sharing a root category and subcategories between store views but you want to hide a particular category you'll first select your Store View from the Scope dropdown.
Then, you’ll select the category you want to hide and under Enable Category uncheck Use Default select No and press save.
Products
Translating products
To translate/localize product attributes and values, follow these steps:
- Go to Catalog > Products, click “edit” next to the product you want to update.
- Select your store view.
- Uncheck Use Default Value and replace the values of the default language version with your translations/localized content.
Hiding products
To hide products from a particular store view, follow the steps 1-2 above. Then go to the bottom of the General section and under Visibility, first, check Use Default Value, then select Not Visible Individually and press save.
To hide products in bulk, follow these steps:
- Go to Catalog > Products, first select your store view and then select the products you’d like to hide.
- On the top, far right, under Actions select Update Attributes and hit submit.
- Scroll down to Visibility, check the Change box and set to Not Visible Individually and press save.
Attributes
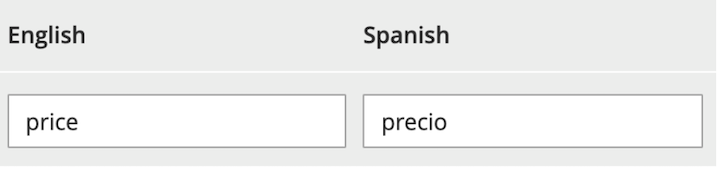
If you have specific attributes visible on the front end (for filtering, search, labeling), you can translate the labels by following these steps:
- Go Stores > Attributes > Product.
- Locate the attribute you’d like to translate.
- Hit Manage Label / Options.
- Add translation(s) for your other store view(s).
- How to change language in Adobe Commerce.
Blocks / CMS Pages
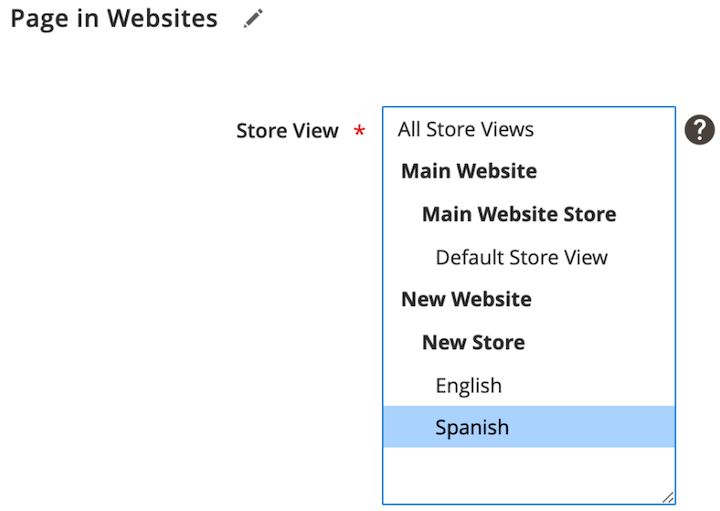
There is no scope setting for blocks and pages, so specific blocks and pages need to be made for each store view.
The store views are assigned in the Page in Websites tab.
How to implement translations
Option 1: Export/Import
Adobe Commerce (Magento) offers an Export/Import tool that allows administrators to export out product data in a .csv file that can be localized and reimported. We recommend this option if you have a product catalog larger than 50+ products.
For instructions on exports and imports, we recommend following the steps outlined in Adobe’s Data Transfer documentation.
Option 2: Translate directly in the Admin
If there aren’t too many products to localize, we recommend localizing them directly in the admin by following the steps outlined in the products section above.
Final Thoughts
For more information on store setup and configuration, go to Adobe Commerce’s All Stores guide. If you have any questions about how to configure your Adobe Commerce ecommerce store please feel free to connect with us on social, or contact us directly to set up a time to chat!